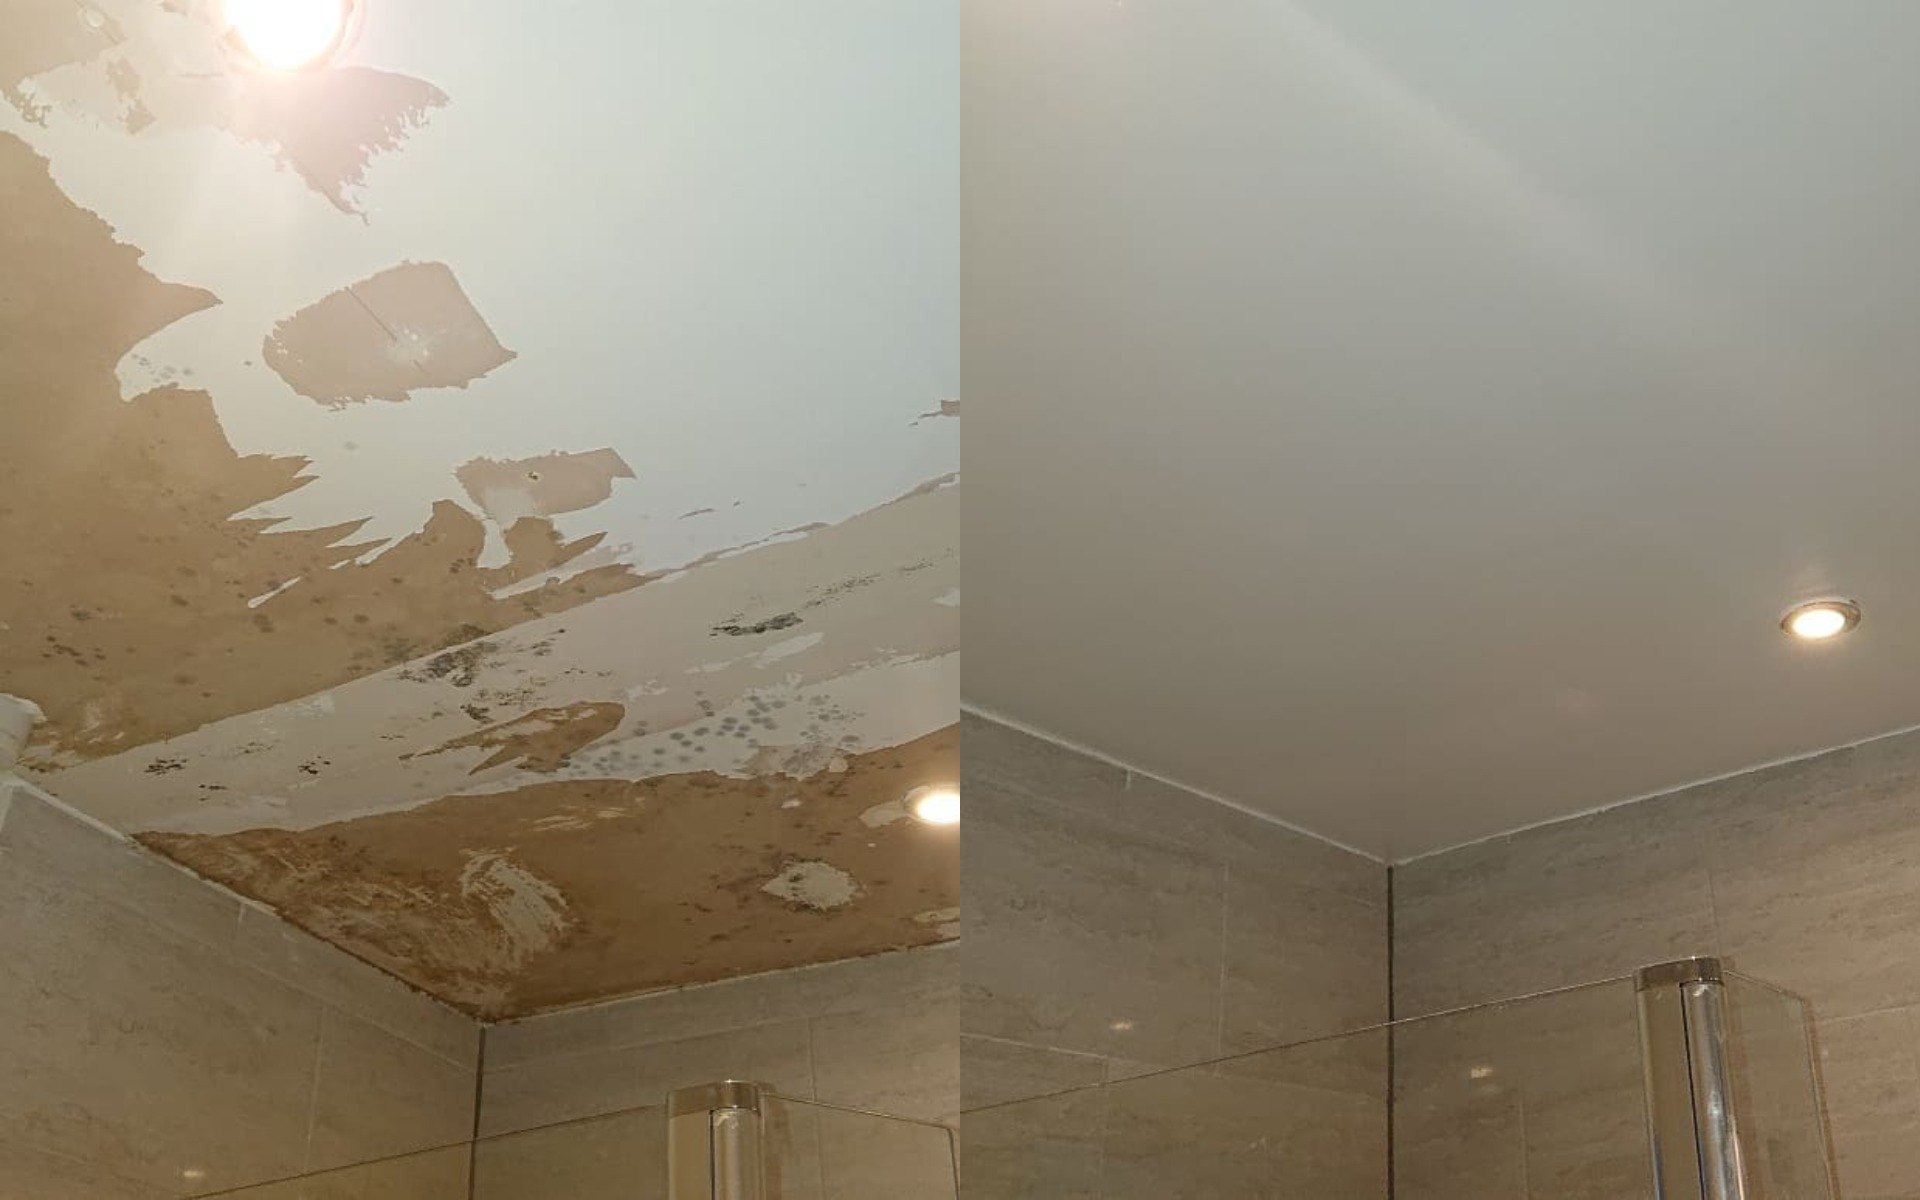
Causes of Bathroom Ceiling Paint Peeling

A bathroom ceiling is a prime spot for paint peeling, due to the high humidity and moisture levels present in this space. Several factors can contribute to this problem, ranging from improper preparation to poor paint quality. Understanding these causes is crucial to effectively address the issue and prevent future peeling.
Moisture and Humidity
The bathroom’s constant exposure to moisture and humidity is a significant contributor to paint peeling. When water vapor condenses on the ceiling, it can seep into the paint, causing it to detach from the surface.
- Hot Showers: Long, hot showers create a significant amount of steam, which can lead to condensation on the ceiling.
- Poor Ventilation: Inadequate ventilation allows moisture to build up in the bathroom, creating a favorable environment for paint peeling.
- Leaky Pipes: Leaky pipes can introduce moisture directly onto the ceiling, leading to paint damage.
Improper Preparation
Proper preparation of the ceiling surface before painting is essential for paint adhesion. Skipping or neglecting these steps can result in peeling paint.
- Cleaning: Failing to thoroughly clean the ceiling surface before painting can leave behind dirt, grease, or soap residue, which can interfere with paint adhesion.
- Priming: Applying a primer before painting helps to create a smooth, even surface that promotes better paint adhesion. Skipping this step can lead to paint peeling, especially on surfaces that are porous or previously painted.
- Patching: Cracks, holes, or other imperfections in the ceiling should be patched before painting. If these areas are not properly repaired, the paint may peel around them.
Poor Paint Quality
Using low-quality paint can contribute to peeling, as it may not be durable enough to withstand the bathroom’s moisture and humidity.
- Inadequate Moisture Resistance: Paint specifically designed for high-moisture environments, such as bathrooms and kitchens, offers better resistance to peeling. Using regular interior paint in a bathroom can lead to premature peeling.
- Thin Coats: Applying thin coats of paint can result in a weak paint film that is more susceptible to peeling.
Consequences of Ignoring Peeling Paint
Ignoring peeling paint can lead to several problems:
- Aesthetics: Peeling paint detracts from the bathroom’s overall appearance, making it look unsightly and unkempt.
- Structural Damage: If left untreated, peeling paint can expose the underlying surface to moisture, leading to mold growth and potential structural damage.
- Health Hazards: Mold growth can pose health risks, particularly for individuals with allergies or respiratory problems.
Troubleshooting and Diagnosis

Pinpointing the root cause of your bathroom ceiling paint peeling is crucial for choosing the right solution. This section will guide you through a step-by-step inspection process, helping you identify the culprit behind the problem.
Visual Inspection and Observation
Start by carefully examining the peeling paint. Look for patterns, shapes, and the extent of the damage. This visual inspection can provide valuable clues about the cause. For instance, peeling paint concentrated around the shower area might indicate moisture damage, while widespread peeling could point to a more general issue like poor adhesion.
Identifying the Culprit
- Moisture Damage: Look for signs of water leaks, such as dampness, discoloration, or mold growth. The presence of water stains on the ceiling or walls indicates a potential leak, which can lead to paint peeling due to the expansion and contraction of the paint film.
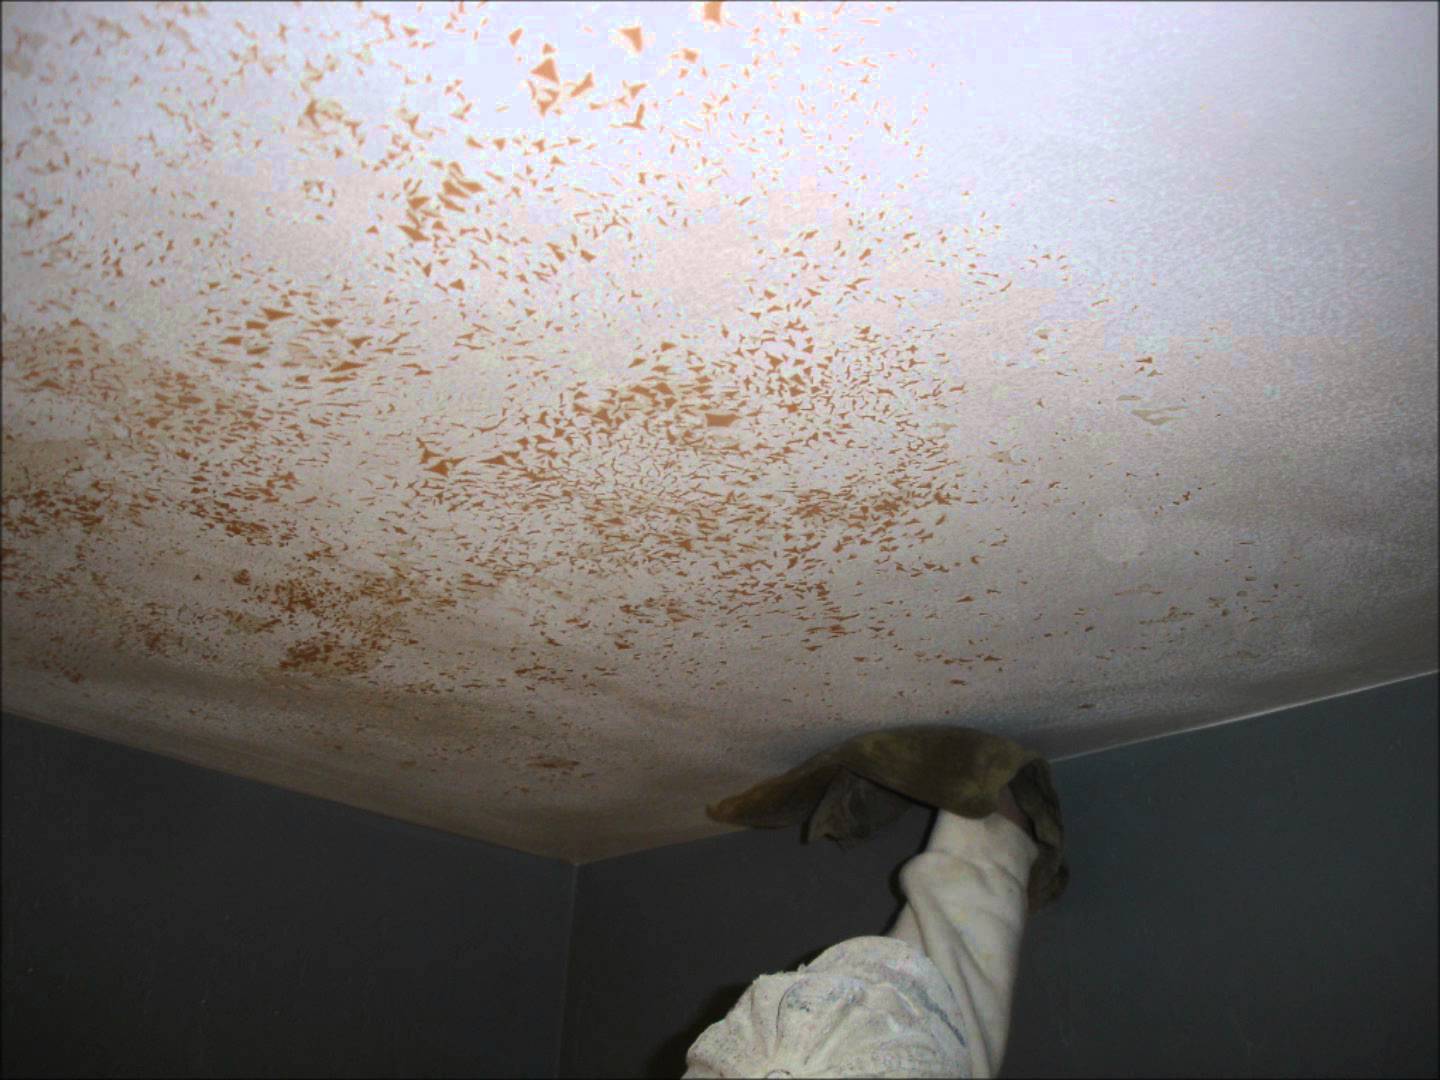
- Poor Adhesion: Inspect the paint surface for signs of flaking or peeling. If the paint comes off easily, it could indicate poor adhesion. This could be due to improper preparation of the surface before painting, the use of incompatible paint types, or the application of paint over a previously damaged surface.
- Other Common Issues:
- High Humidity: Excessive humidity in the bathroom can cause paint to peel. Look for signs of condensation on the walls, windows, or ceiling.
- Temperature Fluctuations: Significant temperature swings between hot and cold can stress the paint film, leading to peeling.
- Poor Ventilation: Inadequate ventilation can trap moisture and contribute to paint peeling.
Evaluating the Bathroom Environment
- Ventilation: Assess the effectiveness of your bathroom’s ventilation system. Ensure the exhaust fan is working properly and can effectively remove moisture from the air.
- Humidity Levels: Use a hygrometer to measure the humidity levels in your bathroom. A humidity level above 60% can increase the risk of paint peeling.
- Previous Repairs: Check for any past repairs or patching on the ceiling. Improperly repaired areas can lead to paint peeling.
Checklist for Evaluation
| Factor | Check | Observation |
|---|---|---|
| Ventilation | Check the exhaust fan’s operation and airflow. | Is the fan working effectively? Does it remove moisture quickly? |
| Humidity | Measure humidity levels using a hygrometer. | Are humidity levels consistently above 60%? |
| Previous Repairs | Inspect the ceiling for any patching or repairs. | Are the repairs properly done and free of cracks or gaps? |
| Moisture Damage | Look for signs of water leaks, dampness, or discoloration. | Are there any signs of water damage or leaks? |
| Temperature Fluctuations | Observe the temperature changes in the bathroom. | Are there significant temperature swings between hot and cold? |
| Paint Adhesion | Test the paint’s adhesion by gently scraping it with a fingernail. | Does the paint come off easily? |
Solutions and Repair Strategies: Stop Bathroom Ceiling Paint Peeling

Once you’ve identified the root cause of the paint peeling, you can implement appropriate solutions to prevent further damage and restore your bathroom ceiling to its former glory. This involves thorough preparation, using the right paint, and applying it correctly.
Preparing the Bathroom Ceiling
Proper preparation is crucial for a successful paint job. It ensures the new paint adheres well and lasts longer.
- Remove Loose Paint: Use a scraper or putty knife to remove any loose or flaking paint. Be careful not to damage the underlying surface. For stubborn paint, a heat gun can help soften it for easier removal.
- Clean the Surface: After removing loose paint, clean the ceiling thoroughly. Use a mild detergent and warm water to remove dirt, grime, mold, and mildew. Rinse well and allow the surface to dry completely.
- Apply Primer: Before painting, apply a primer specifically designed for bathrooms. Primer helps to seal the surface, create a smooth base for the paint, and improve adhesion. Consider using a mold-resistant primer for extra protection.
Suitable Paint Types for Bathroom Ceilings
Choosing the right paint is critical for a durable and moisture-resistant finish in a bathroom.
- Acrylic Latex Paint: Acrylic latex paints are popular for bathroom ceilings due to their durability, moisture resistance, and ease of application. They dry quickly and offer good mildew resistance.
- Epoxy Paint: Epoxy paints provide excellent moisture resistance and durability, making them suitable for high-traffic areas and damp environments. They are also resistant to stains and chemicals, making them a good choice for bathrooms.
- Oil-Based Paint: Oil-based paints offer excellent durability and moisture resistance, but they require more time to dry and can have a strong odor. They are generally not recommended for bathrooms unless the area is well-ventilated.
Applying Paint to the Bathroom Ceiling, Stop bathroom ceiling paint peeling
To achieve a smooth and even finish, follow these steps when applying paint to the bathroom ceiling:
- Use a Roller: A roller is the best tool for applying paint to large areas like ceilings. Choose a roller with a nap length suitable for the texture of your ceiling.
- Apply Thin Coats: Apply thin, even coats of paint. Avoid overloading the roller, as this can cause drips and runs.
- Work in Sections: Divide the ceiling into sections and paint each section in a consistent direction, such as from left to right or right to left.
- Smooth Out the Paint: Use a brush to paint the edges and corners of the ceiling, and to smooth out any brushstrokes or roller marks.
- Allow Time to Dry: Allow each coat of paint to dry completely before applying the next coat. The drying time will vary depending on the type of paint and the temperature and humidity of the room.
Stop bathroom ceiling paint peeling – Preventing bathroom ceiling paint from peeling often starts with proper preparation. A good primer is essential, and choosing the right paint for high-humidity areas is crucial. If you’re looking for inspiration for your master bathroom, check out the latest trends for master bathroom paint colors 2018 , which may give you ideas for a durable and stylish finish.
Once you’ve chosen your color, remember to apply several thin coats for optimal coverage and durability, ensuring a long-lasting and beautiful bathroom.
A peeling bathroom ceiling can be a frustrating problem, often caused by moisture buildup and poor paint adhesion. To prevent this, choosing the right paint is crucial. Consider using a high-quality, moisture-resistant paint like those found in Sherwin-Williams’ line, what sherwin williams paint is best for bathrooms , for optimal protection against peeling and a durable finish.
Proper ventilation and regular cleaning will also help maintain a healthy bathroom environment and prevent future peeling issues.
